Installing Echotopia on your machine is a straightforward process. It's all managed through the installer utility that will guide you through the steps.
A note about security alerts
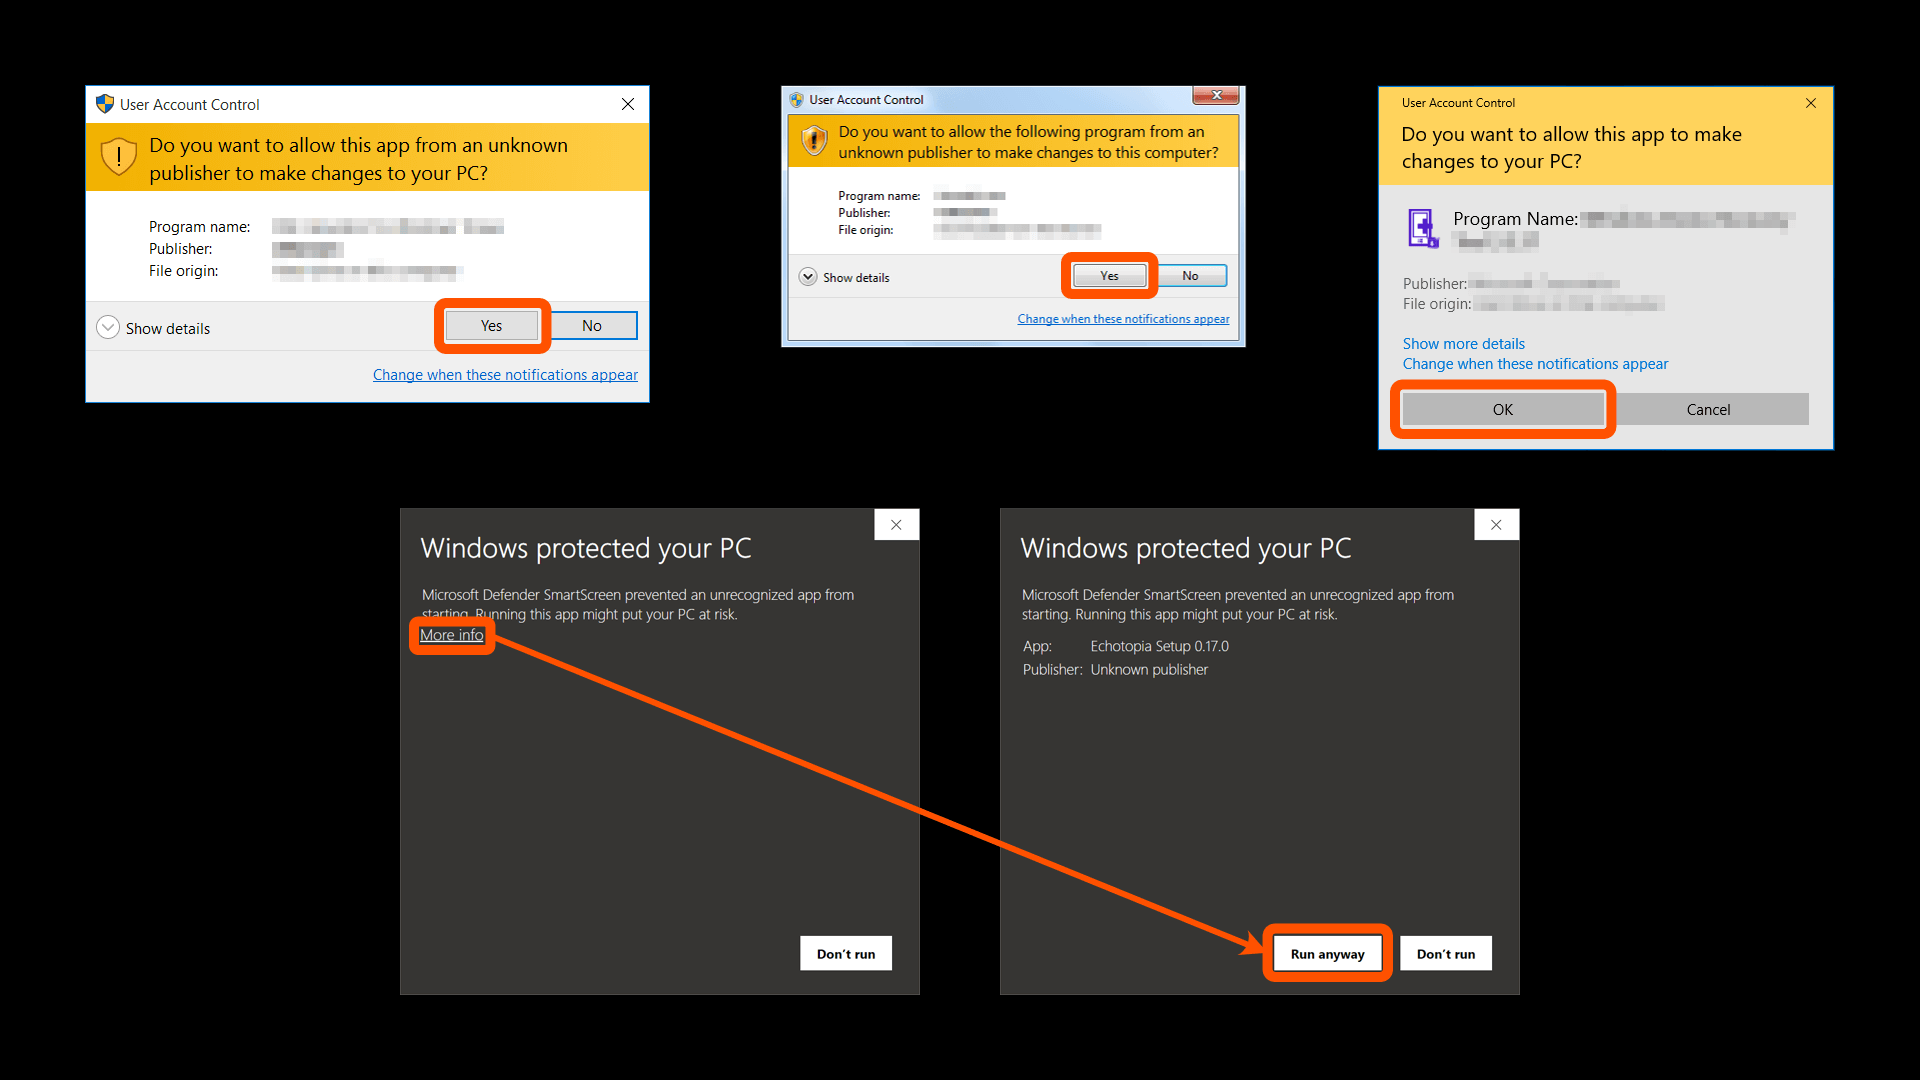
Sometimes, depending on your system and settings, you might get a warning that you are trying to install software from an unknown publisher. We don’t sign our applications as we have a completely controllable environment to develop our software so there is no danger of some employee to inject malicious code in our software. You have the same level of security by choosing to continue despite the various alerts you might get from Windows User Account Control, Defender, or you antivirus and firewall software.
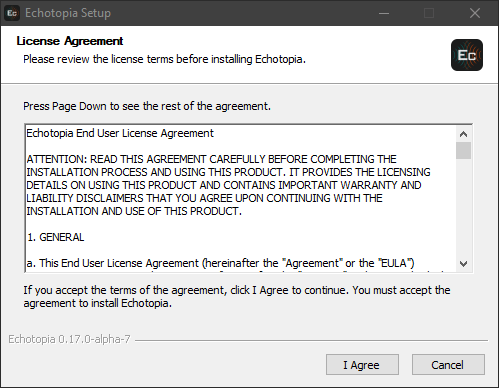
Application Installation
When you run the installer, the first screen you see is the End User License Agreement. You should read this agreement as it defines the relationship you have with SoundFellas and Echotopia. To proceed with the installation you must agree with the rules of this agreement. If you agree press “I Agree”, if you do not agree press “Cancel” and end the setup process.
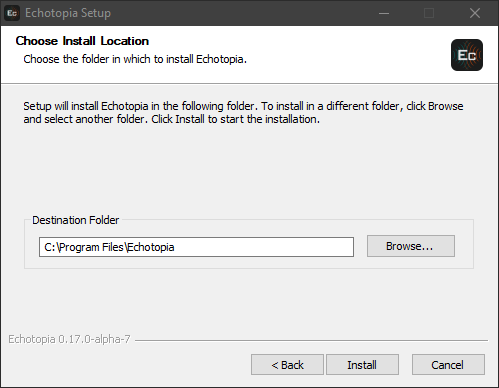
On the next step of the setup process, you will define where in your system’s storage devices Echotopia will be installed.
[icon name="check-circle" prefix="fal"] Pro Tip
Unless you have a specific reason to install Echotopia in another location, leaving this at the default settings is highly recommended.
After finishing the installation, the installer will prompt you to finish the setup, and if you don’t change the option, it will automatically launch Echotopia.
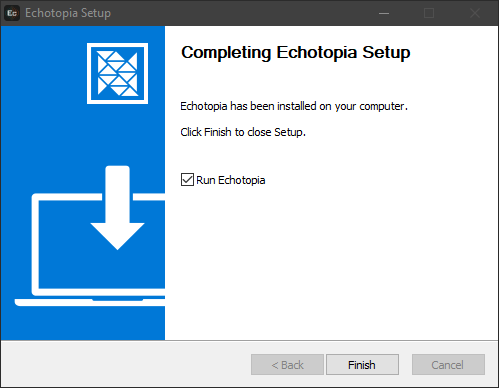
That’s it, you successfully installed Echotopia in your machine!
Application Activation
Echotopia is using a classic automatic request-response activation mechanism to manage the licensing of the application on your machine(s).
You are allowed to install Echotopia in two different machines, provided that you use one at a time (one user/not multi-user license).
If you have any trouble with any of those steps, you can create a ticket at our customer support portal, and we will assist you in the process.
When you launch Echotopia for the first time, you will see the launch hub, which will prompt you to activate the license on your machine.
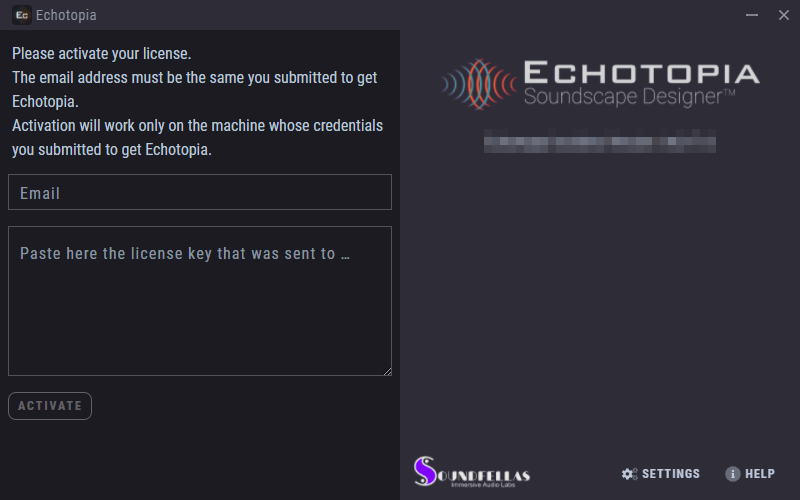
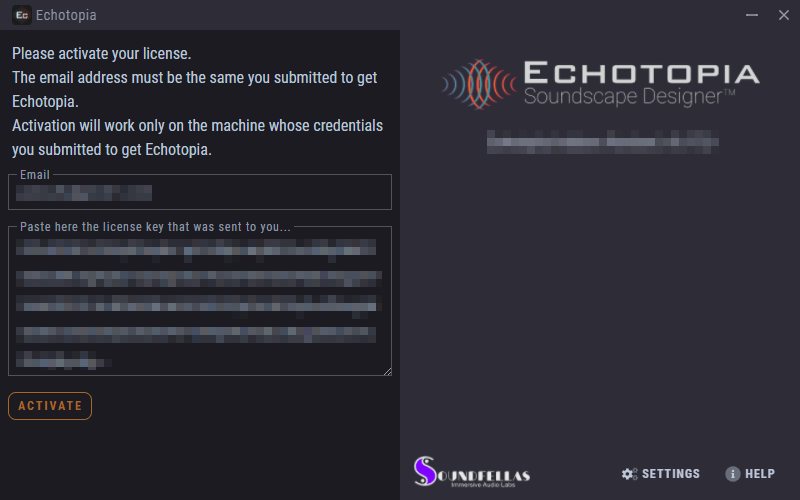
Enter here the email address that you used to purchase Echotopia. If you enter a different email address the activation will not work and will return an error.
Under the email address field, enter the license activation code that you received with an email together with the receipt of your purchase. If you didn’t receive your receipt with the activation code, please check your spam folder. It might be a good idea to whitelist our domain (soundfellas.com) in your email client, to make sure you receive future updates and news for your product.
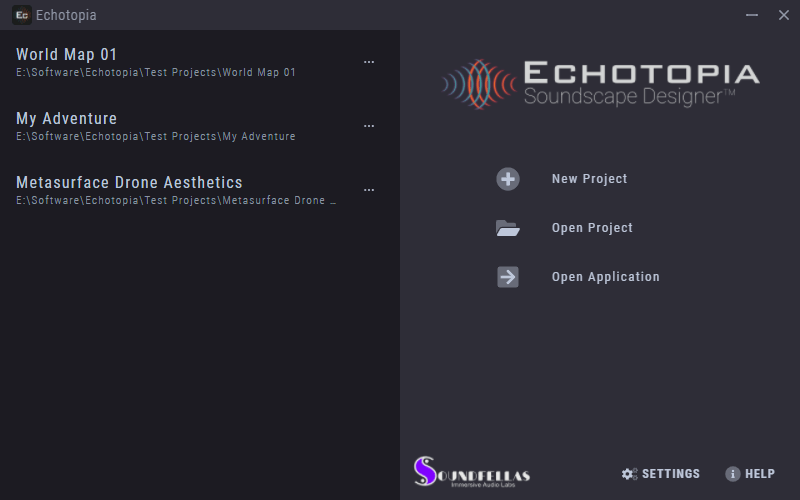
When you run Echotopia the first after activating your license, you will see the Echotopia Launch Hub.
The Launch Hub is a tool that allows you to access your recently opened projects, some basic global settings of the application, and useful links.
From the hub, you can also create a new project, open another project, or just open the application directly. don’t worry, you can access all those features from within Echotopia itself.
That’s all you need to setup. Now Echotopia is ready, activated, and the basic setup is concluded.
Keep on reading to learn the basic concepts and start your first project!
Core Library Downloading and Installation
To download and install Echotopia's Core Library, refer to this guide.
If you have any questions about any of the above, or you would like to ask for a specific project of yours, don't hesitate to create a ticket at our Customer Support Portal.
Have fun creating awesome soundscapes using Echotopia!